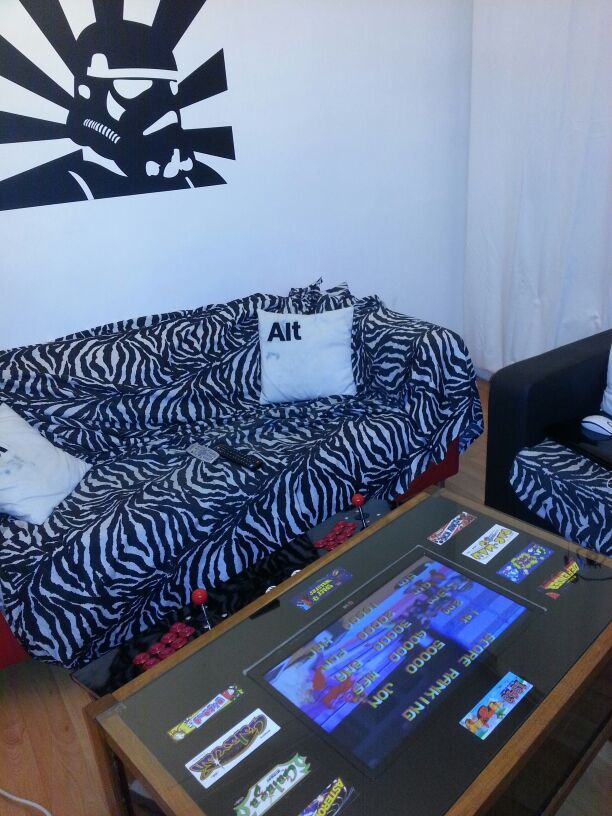
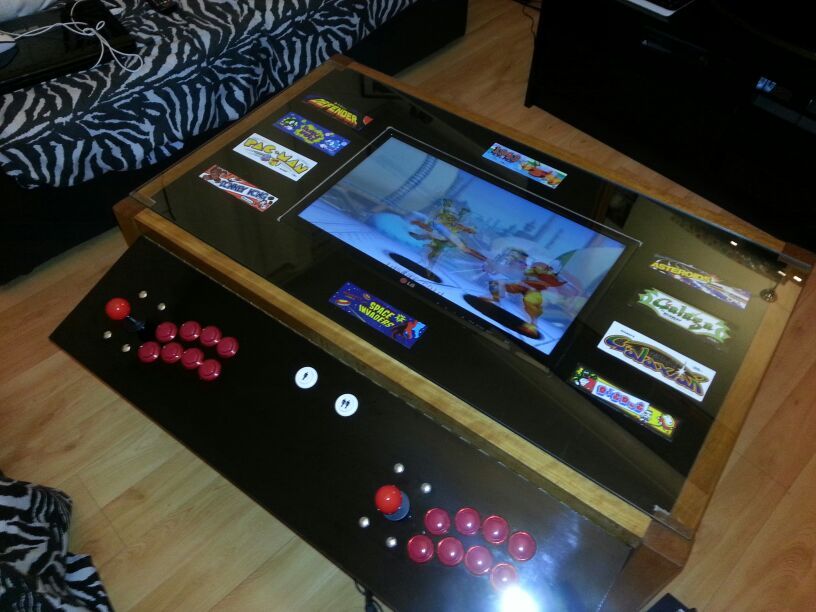
How to Build a Cocktail Arcade Machine
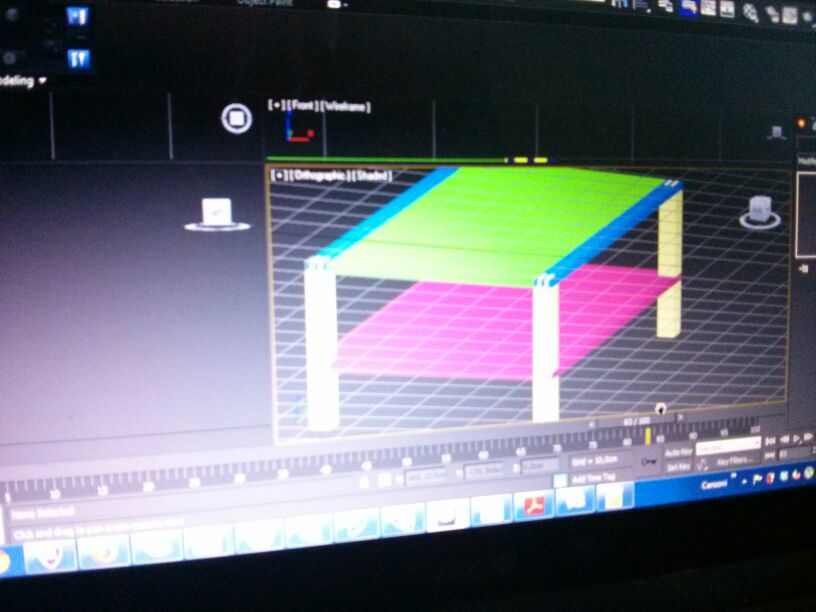
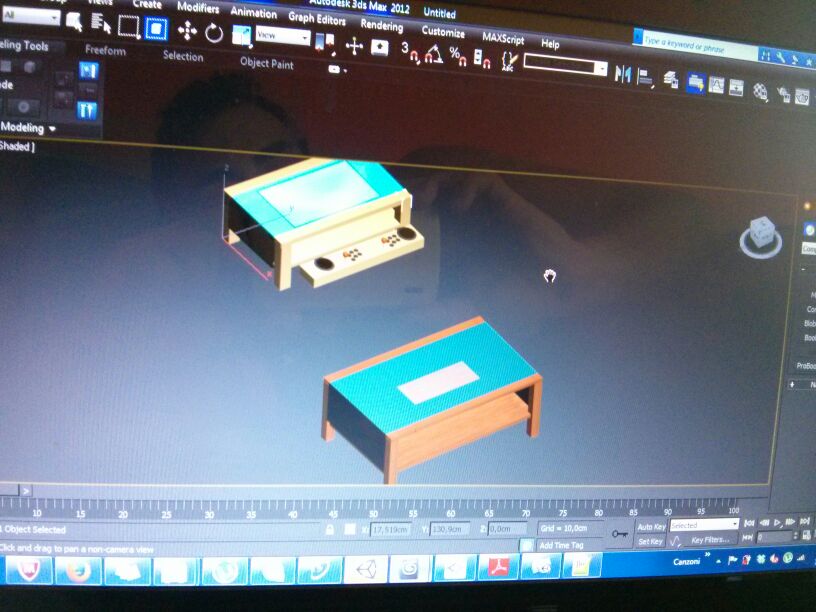
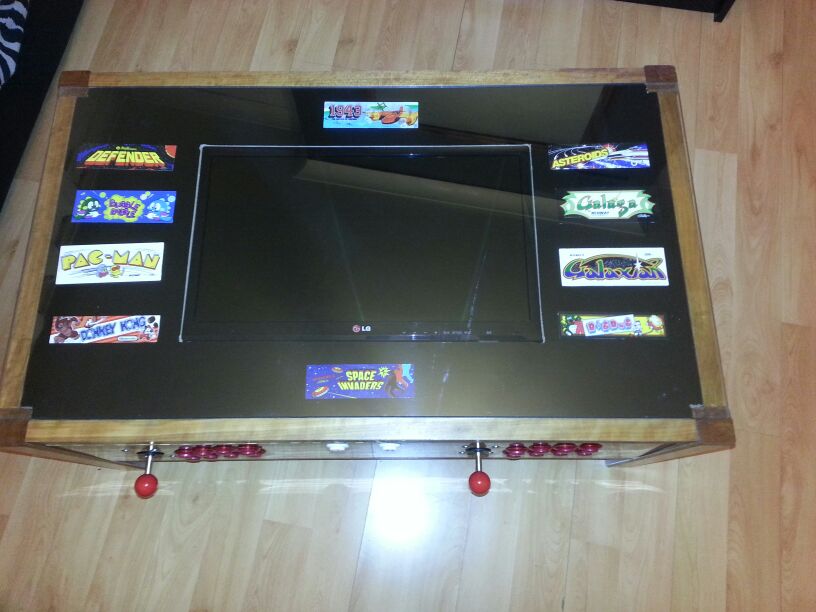
Here we are, my blog officially opens today! Today, I have decided to share with you how I realized my arcade cocktail table. It all started with my brother’s idea. He saw some very nice online arcade tables but the cost was really excessive, so I said CHALLENGE ACCEPTED.. I’ll do It by myself! I went down in my Batcave and I started up my laptop and I made a 3DSMAX schema with the first prototype of the table.
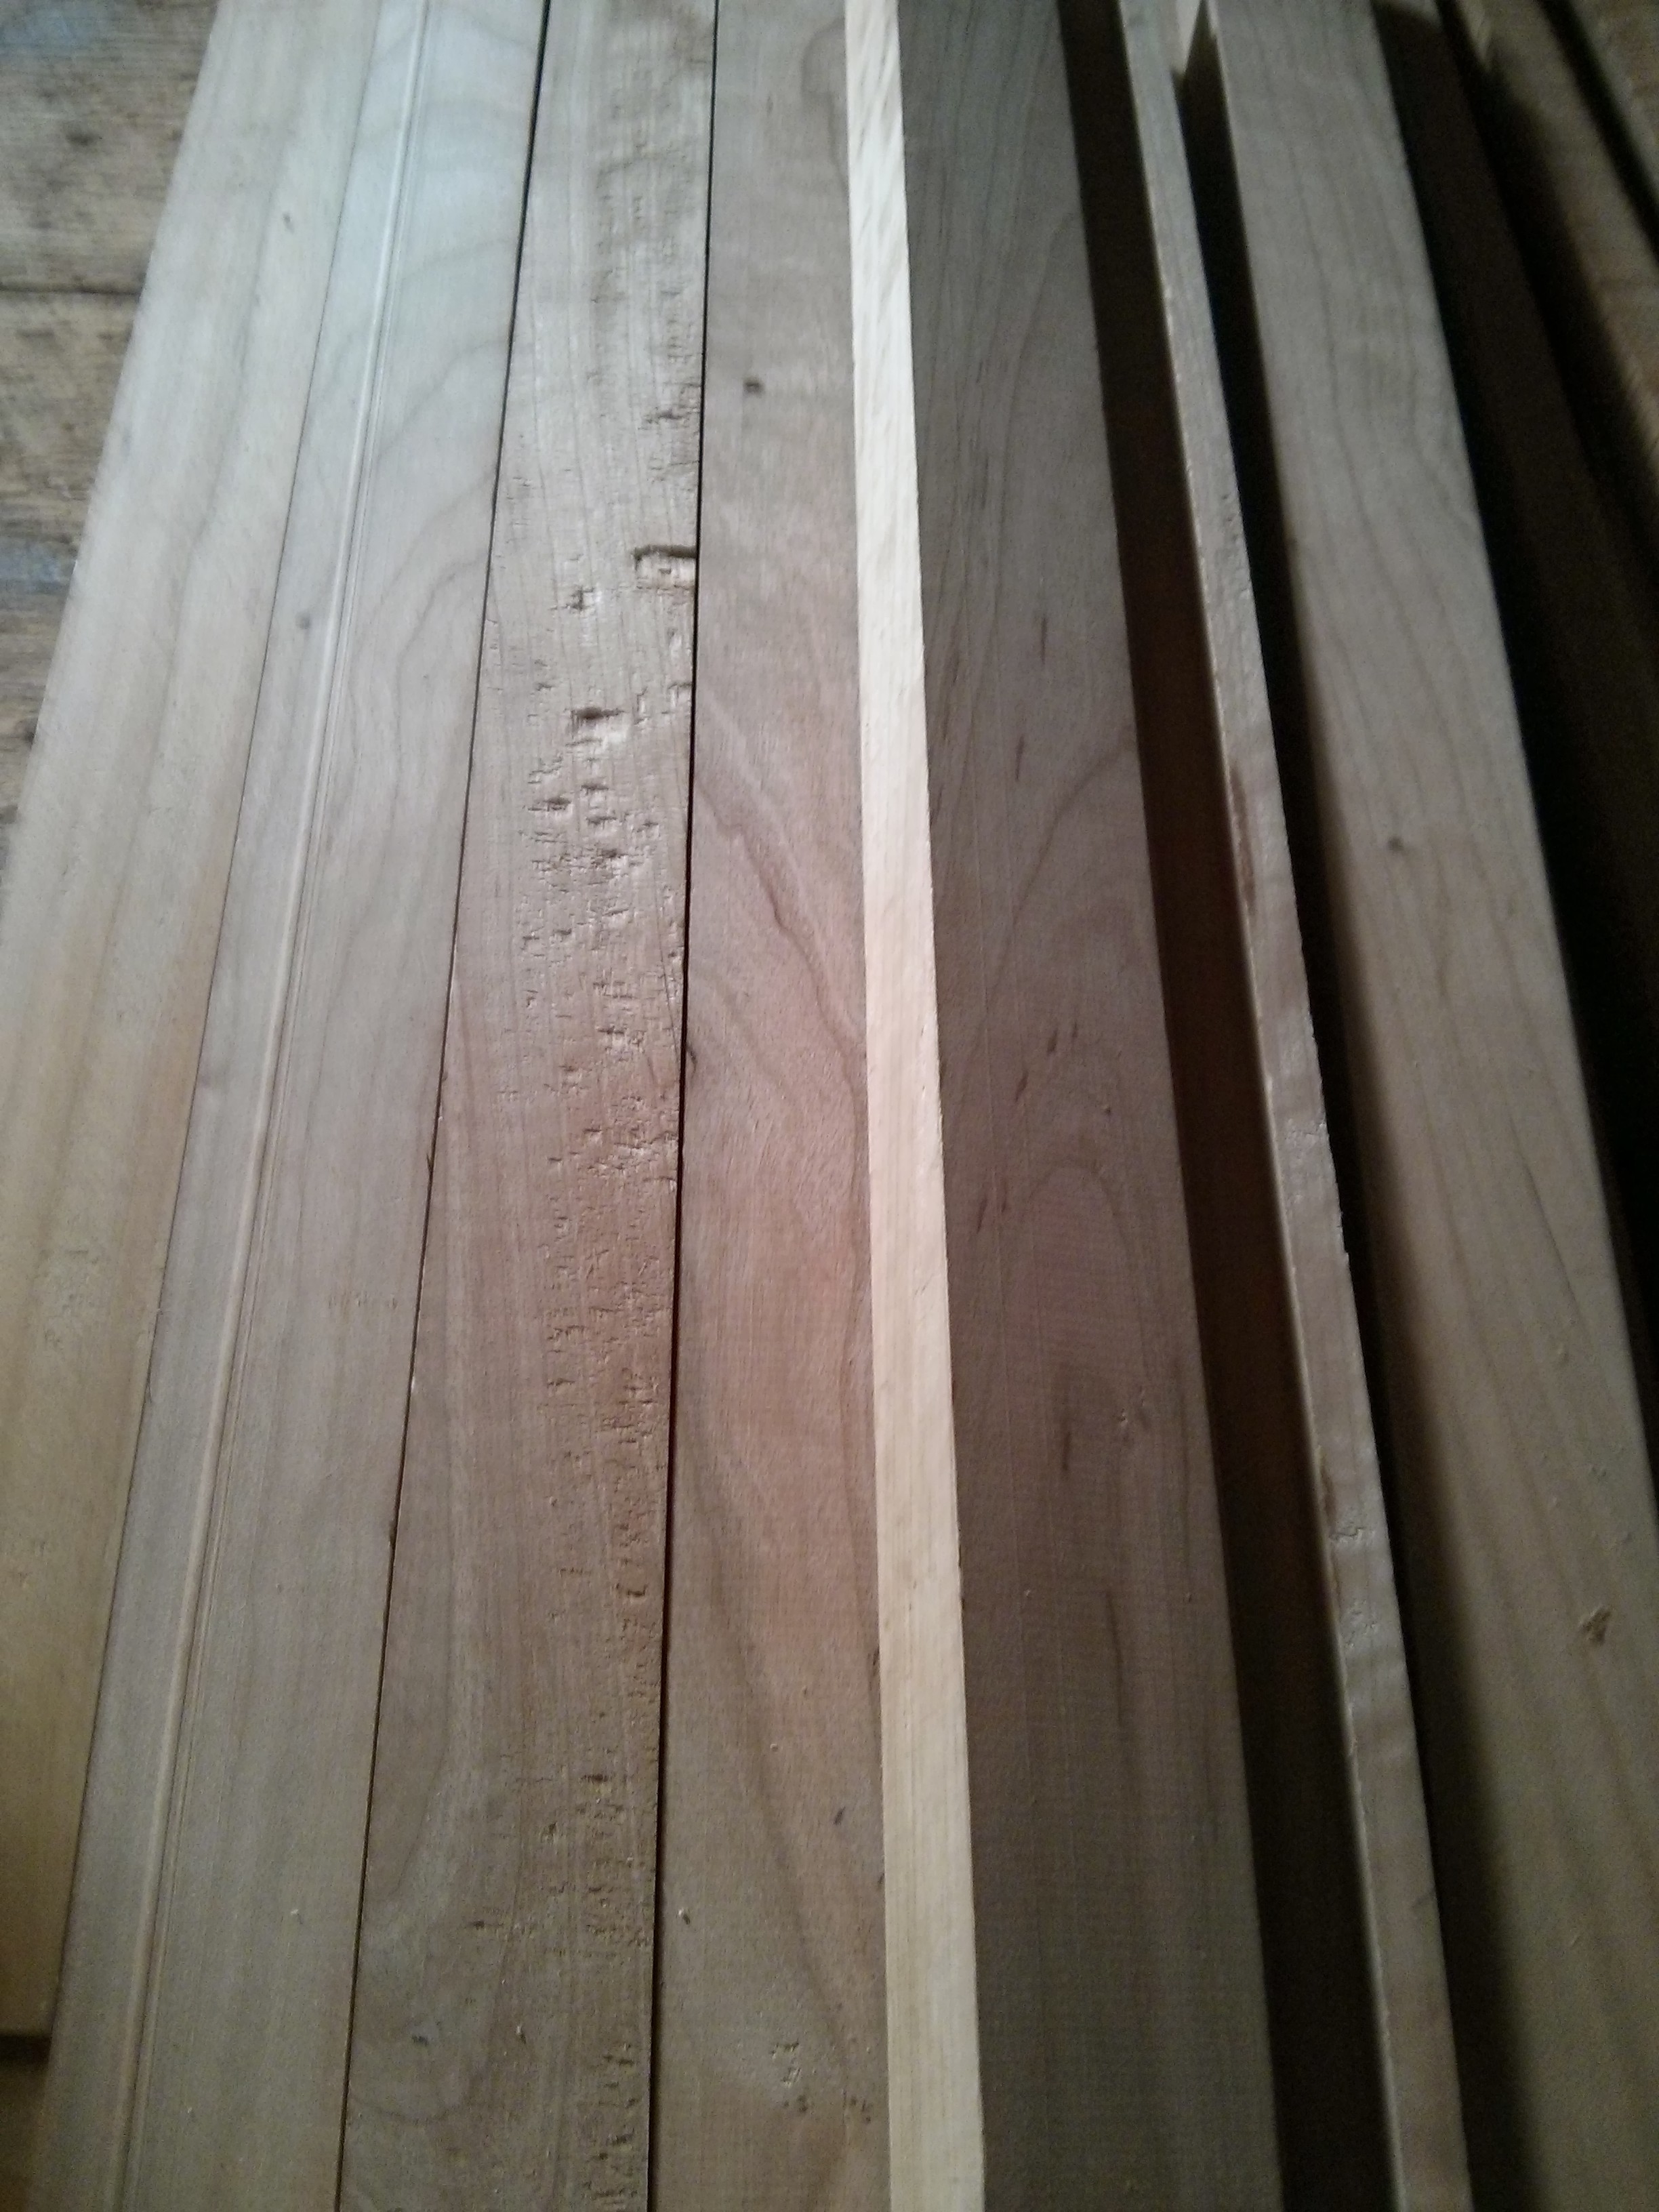
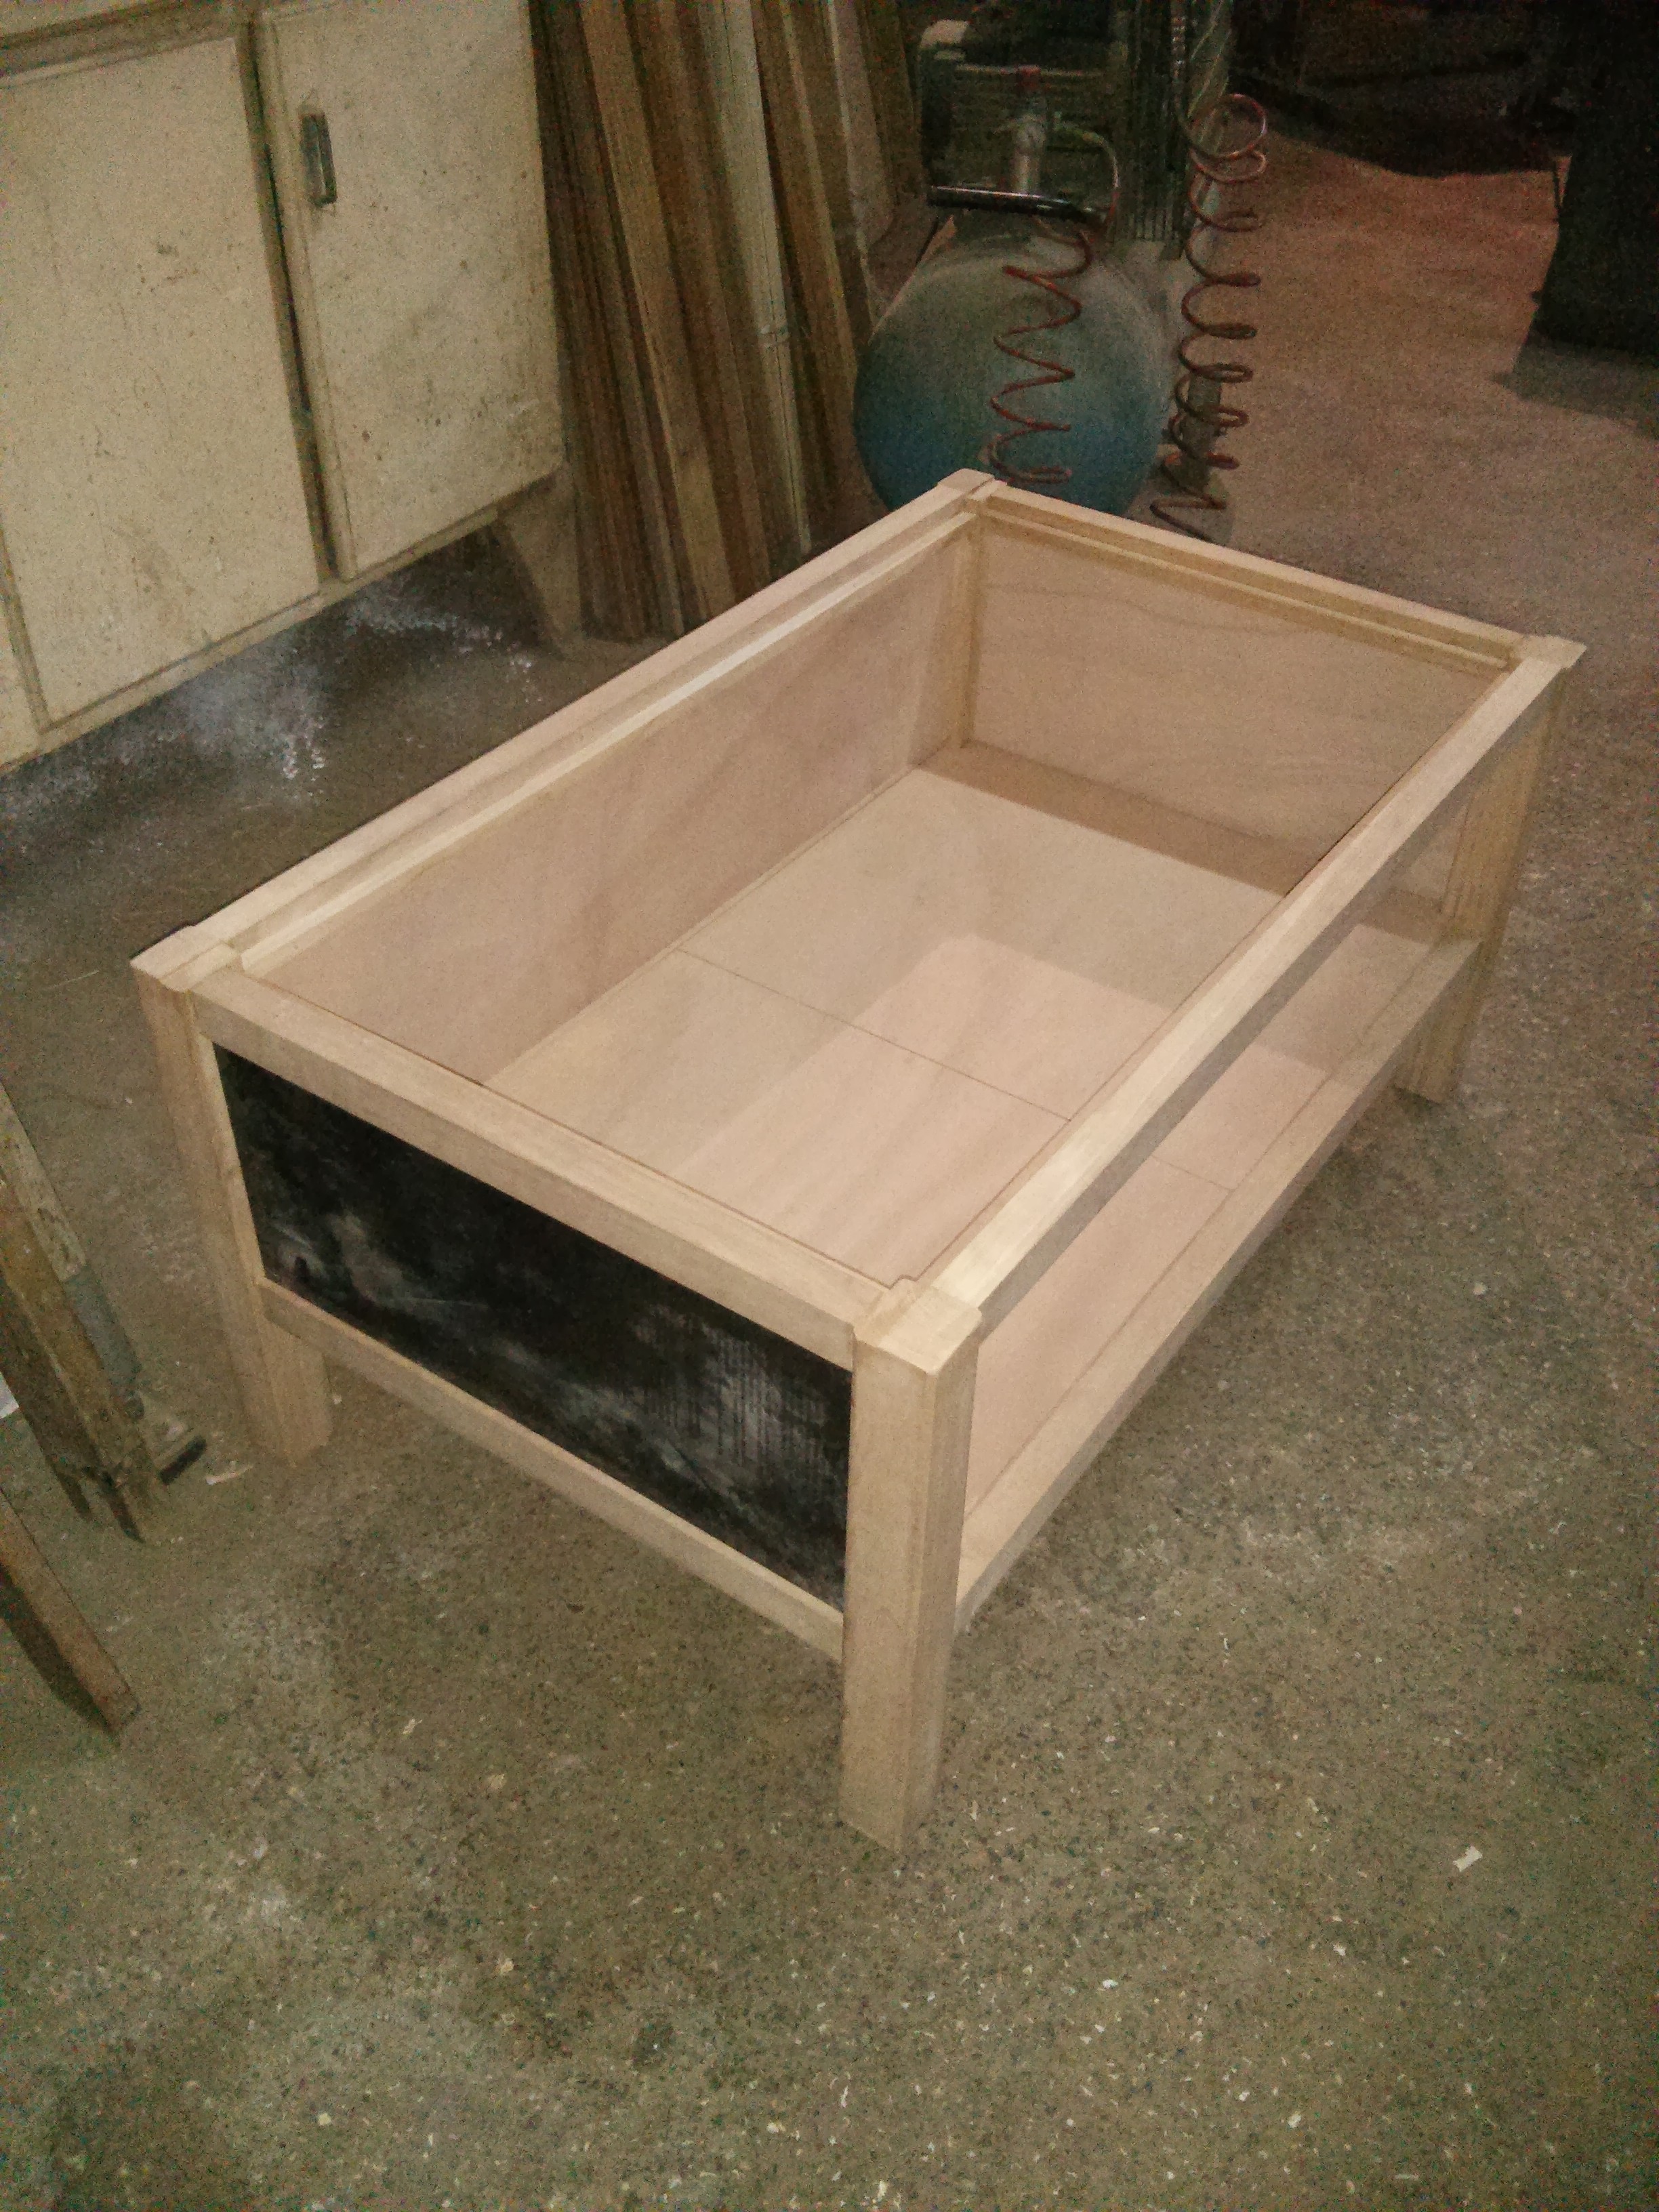
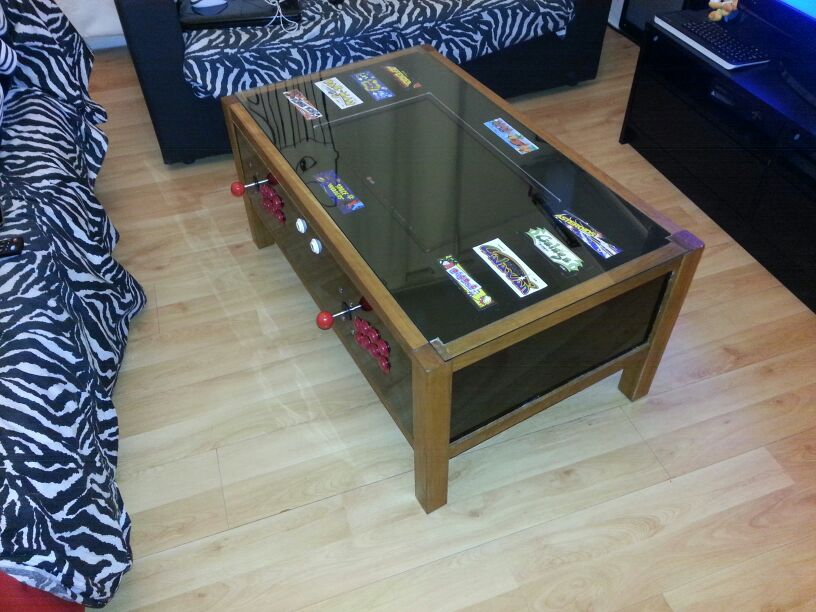
After completing these two pieces of 3D contemporary art I wrongly thought that the project was completed but in fact, It was just the beginning, so I slept on It and the next day I went to a carpenter friend. Once we choose the wood and discussed the points to revise in the project, we started work immediately to build it
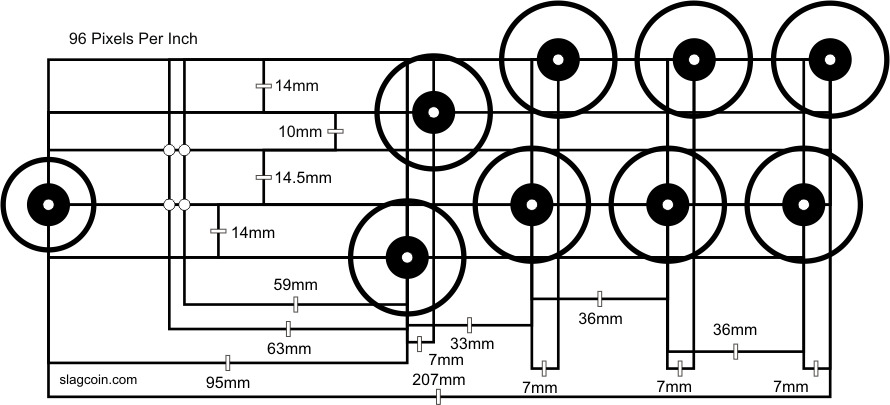
At this point, It was necessary to decide how to arrange the buttons on the console. I was surprised to discover a huge selection of these types of configurations on internet :
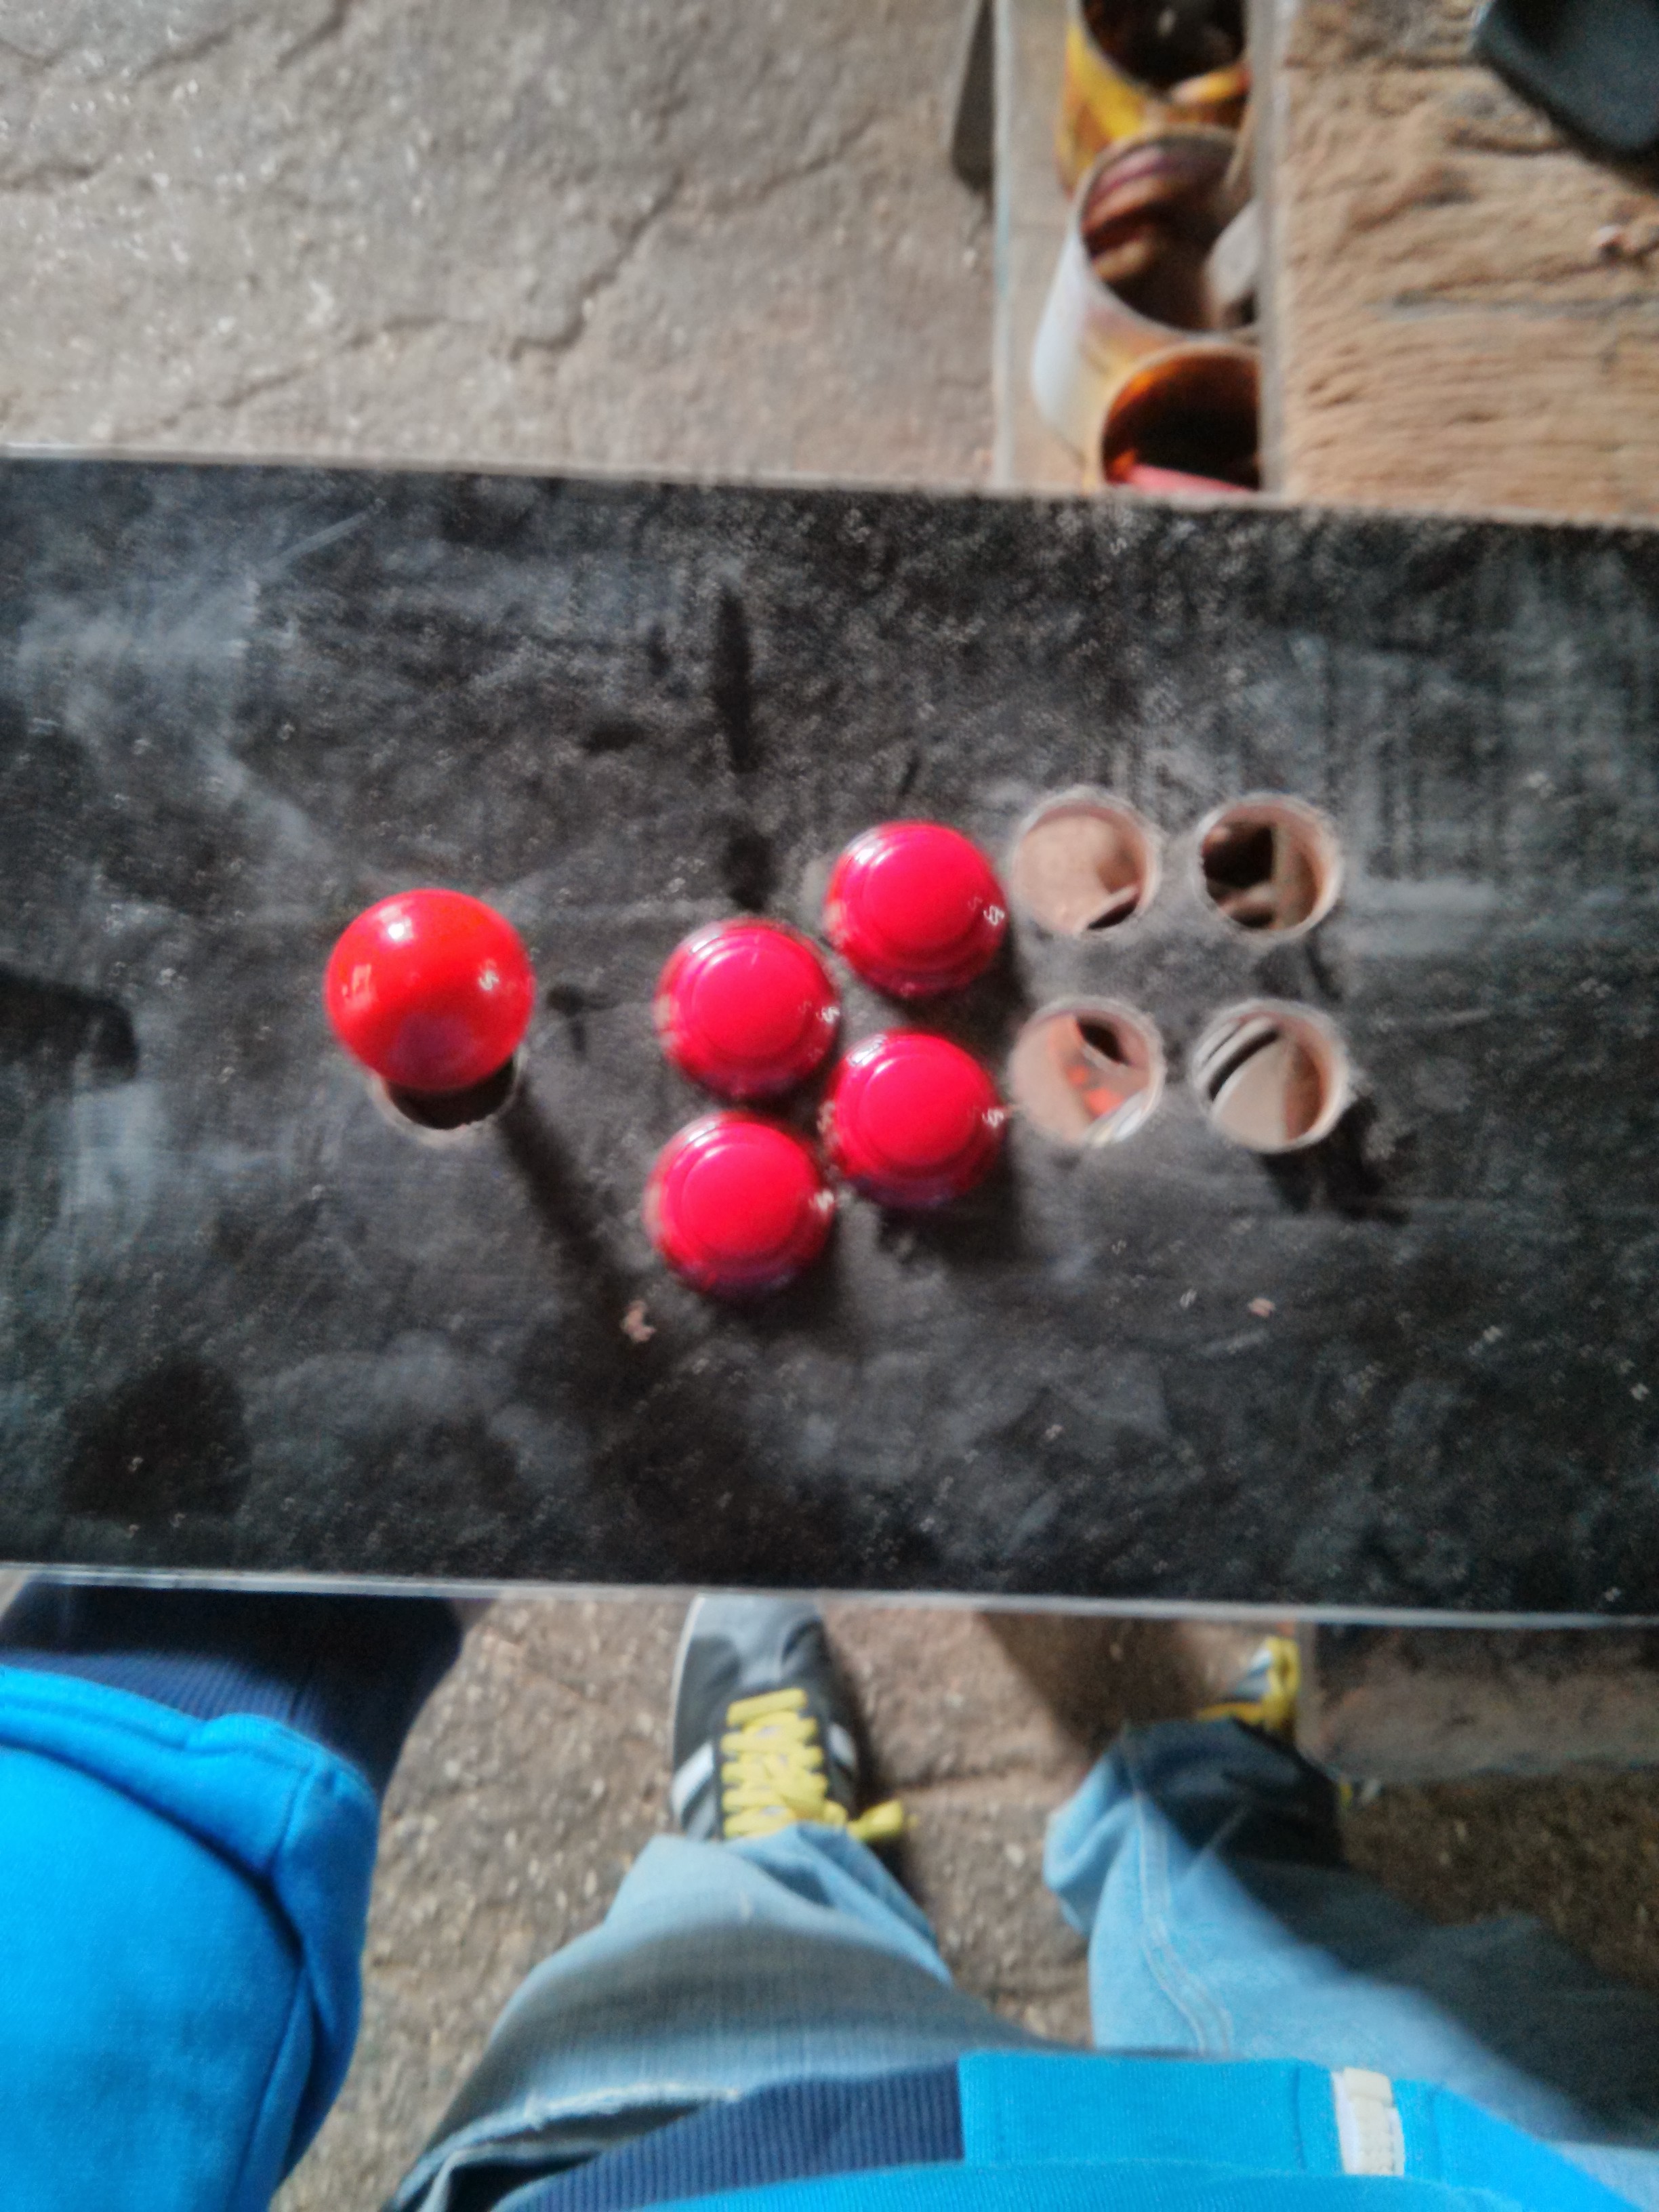
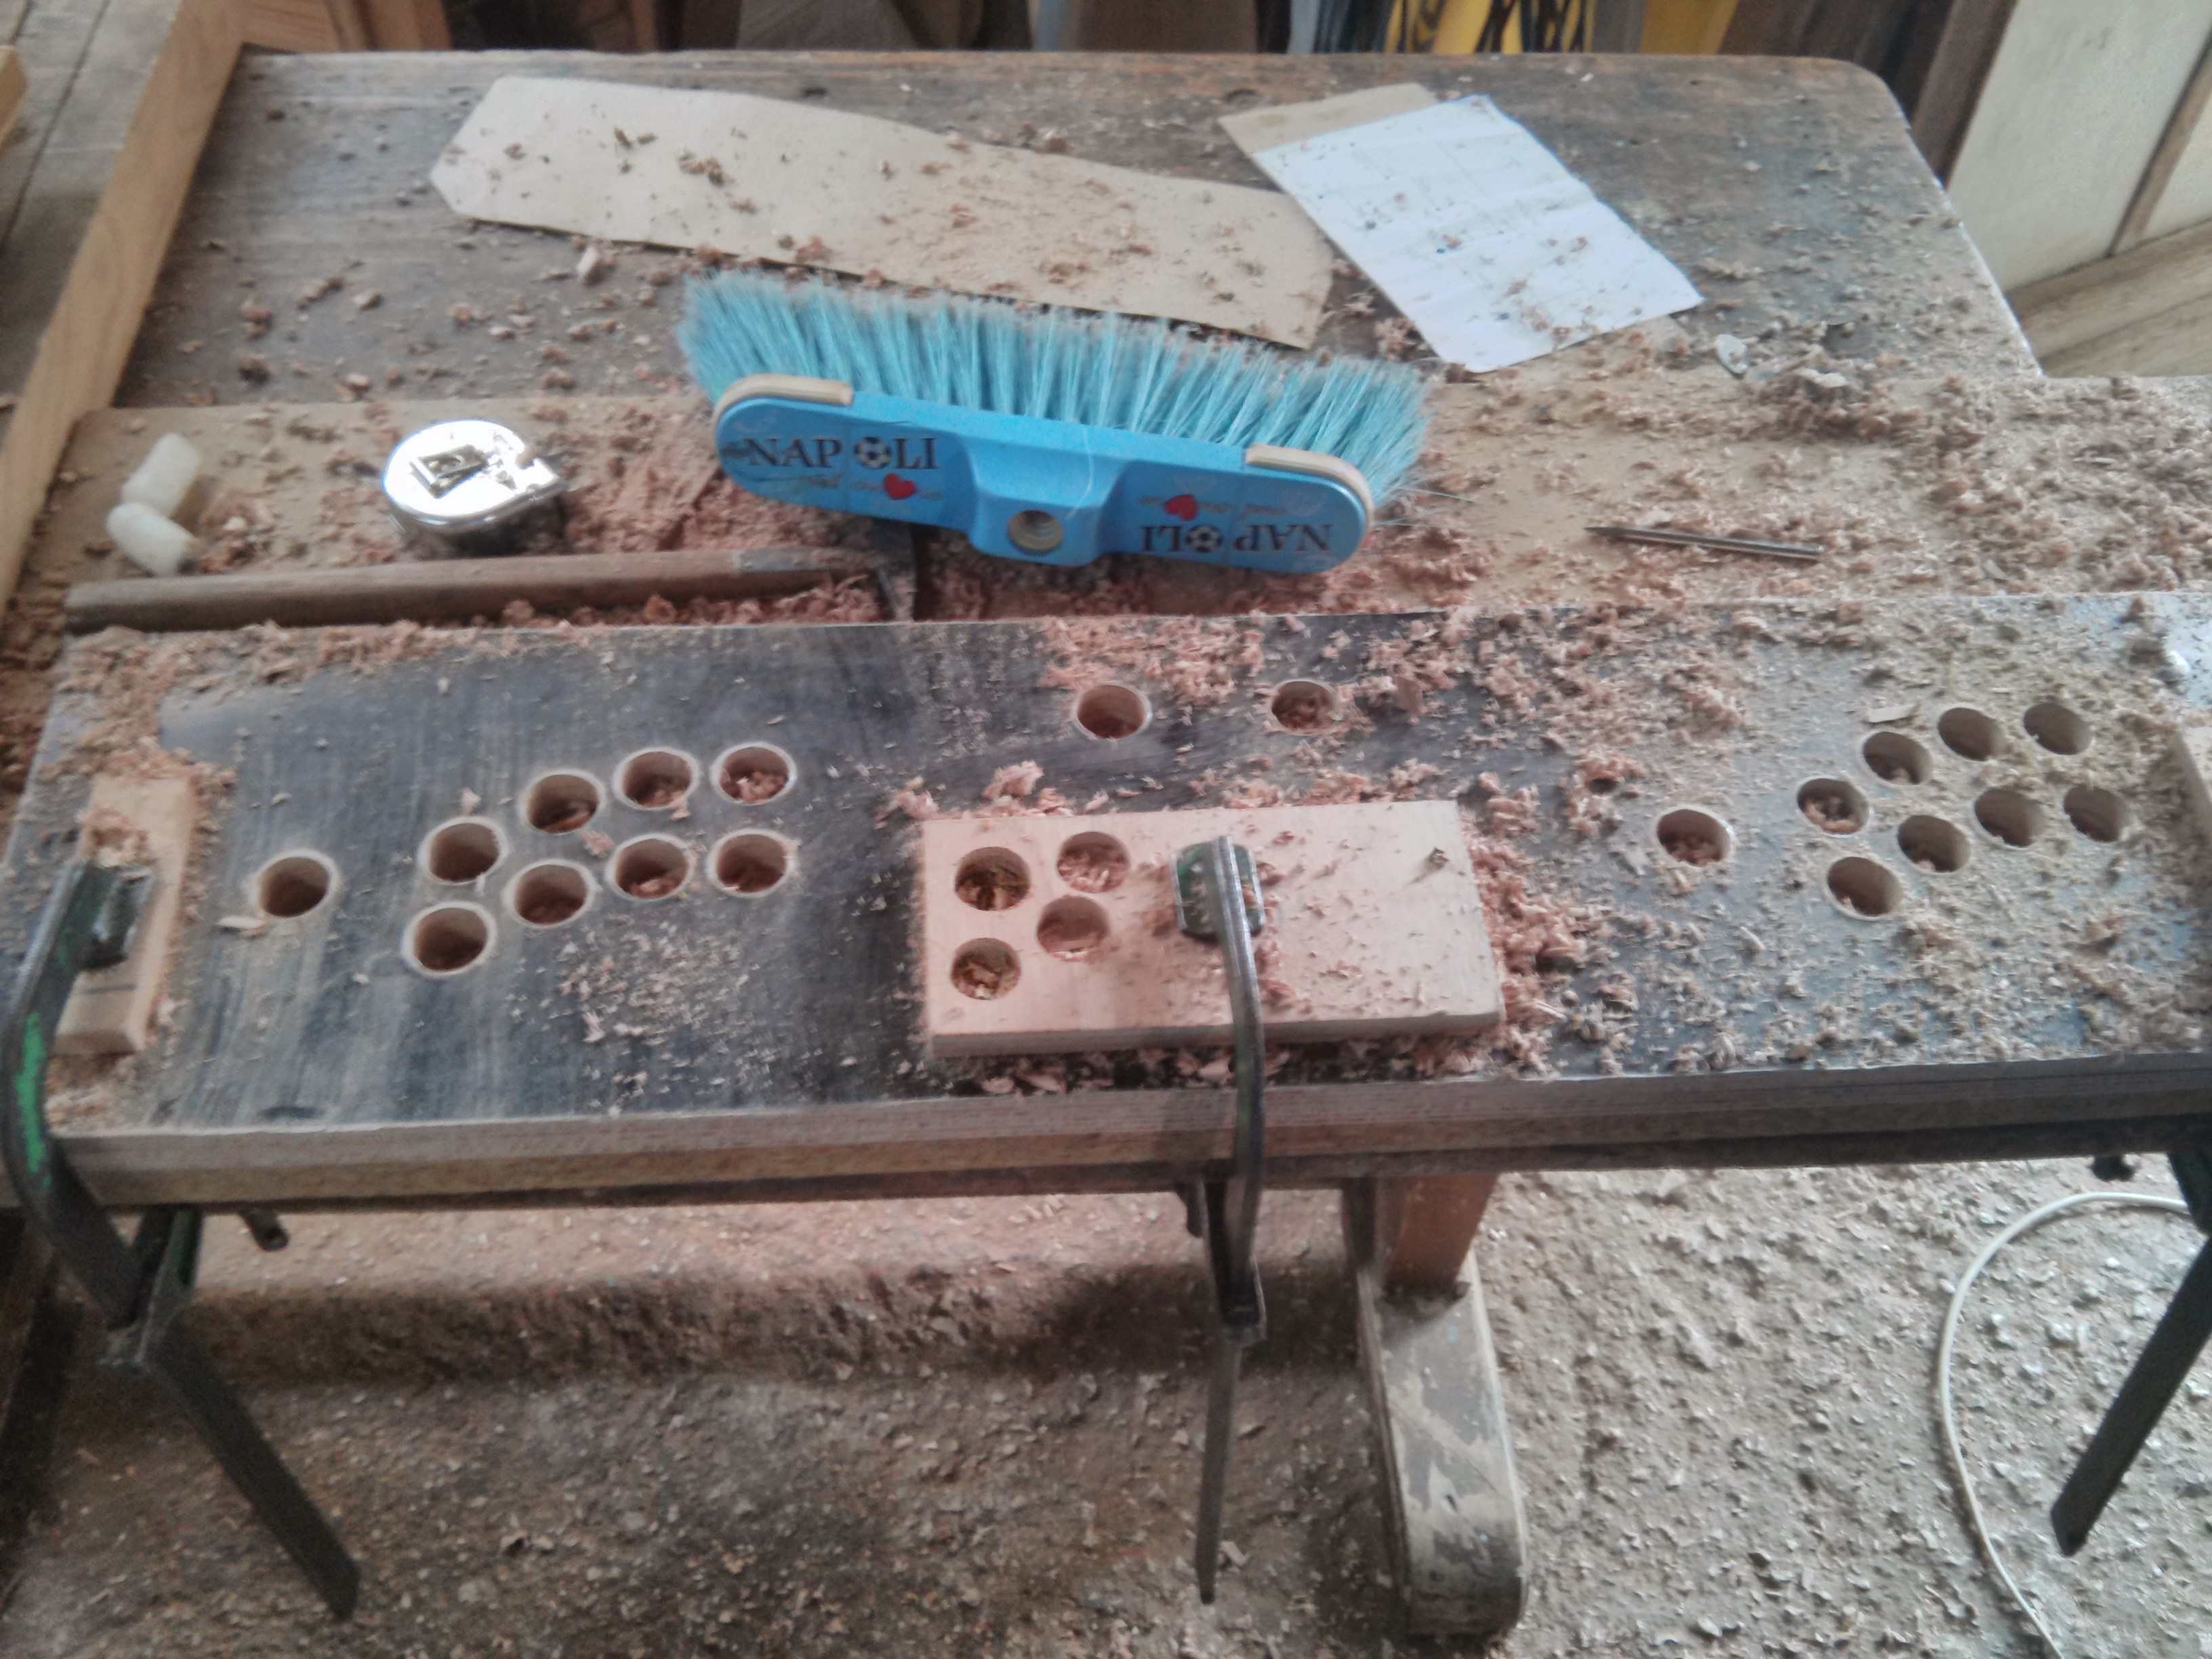
So We took a drill and we made these beautiful holes that you see below:
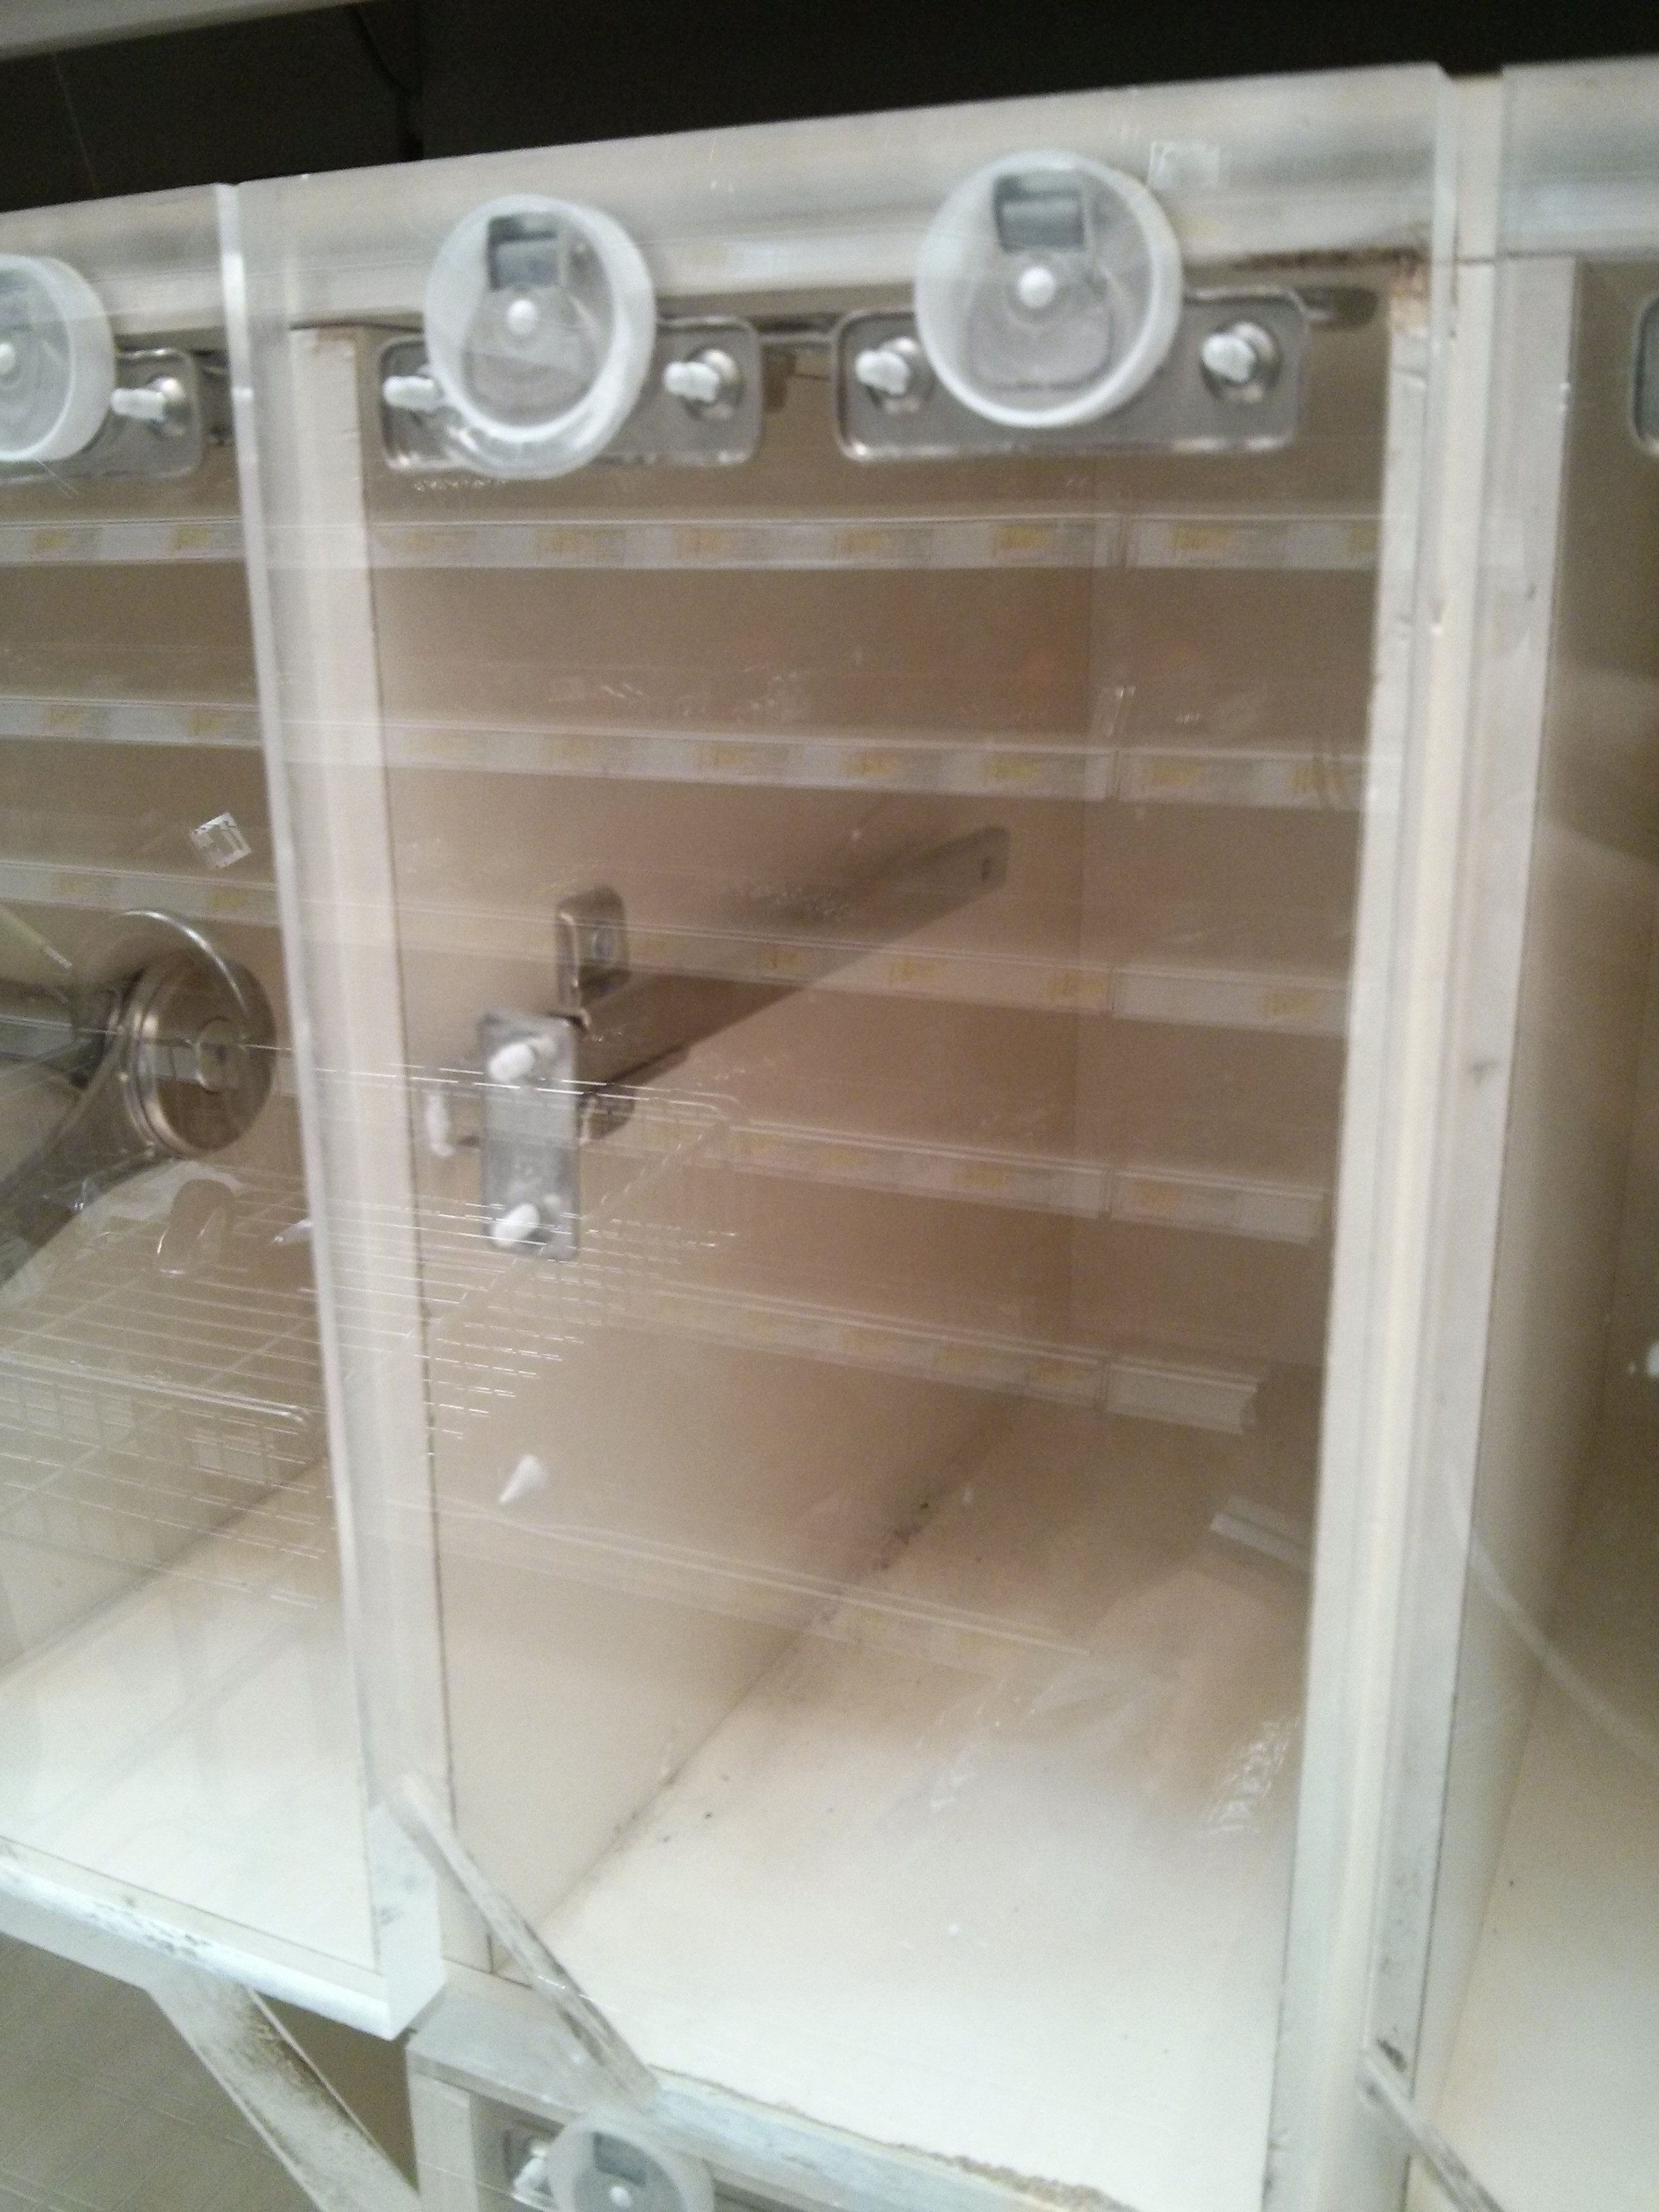
But after realizing the console it was necessary to create a mechanism that would keep open horizontally the console when we using as arcade and to be honest It was one of the most exhausting things to do, but in the end I succeeded!
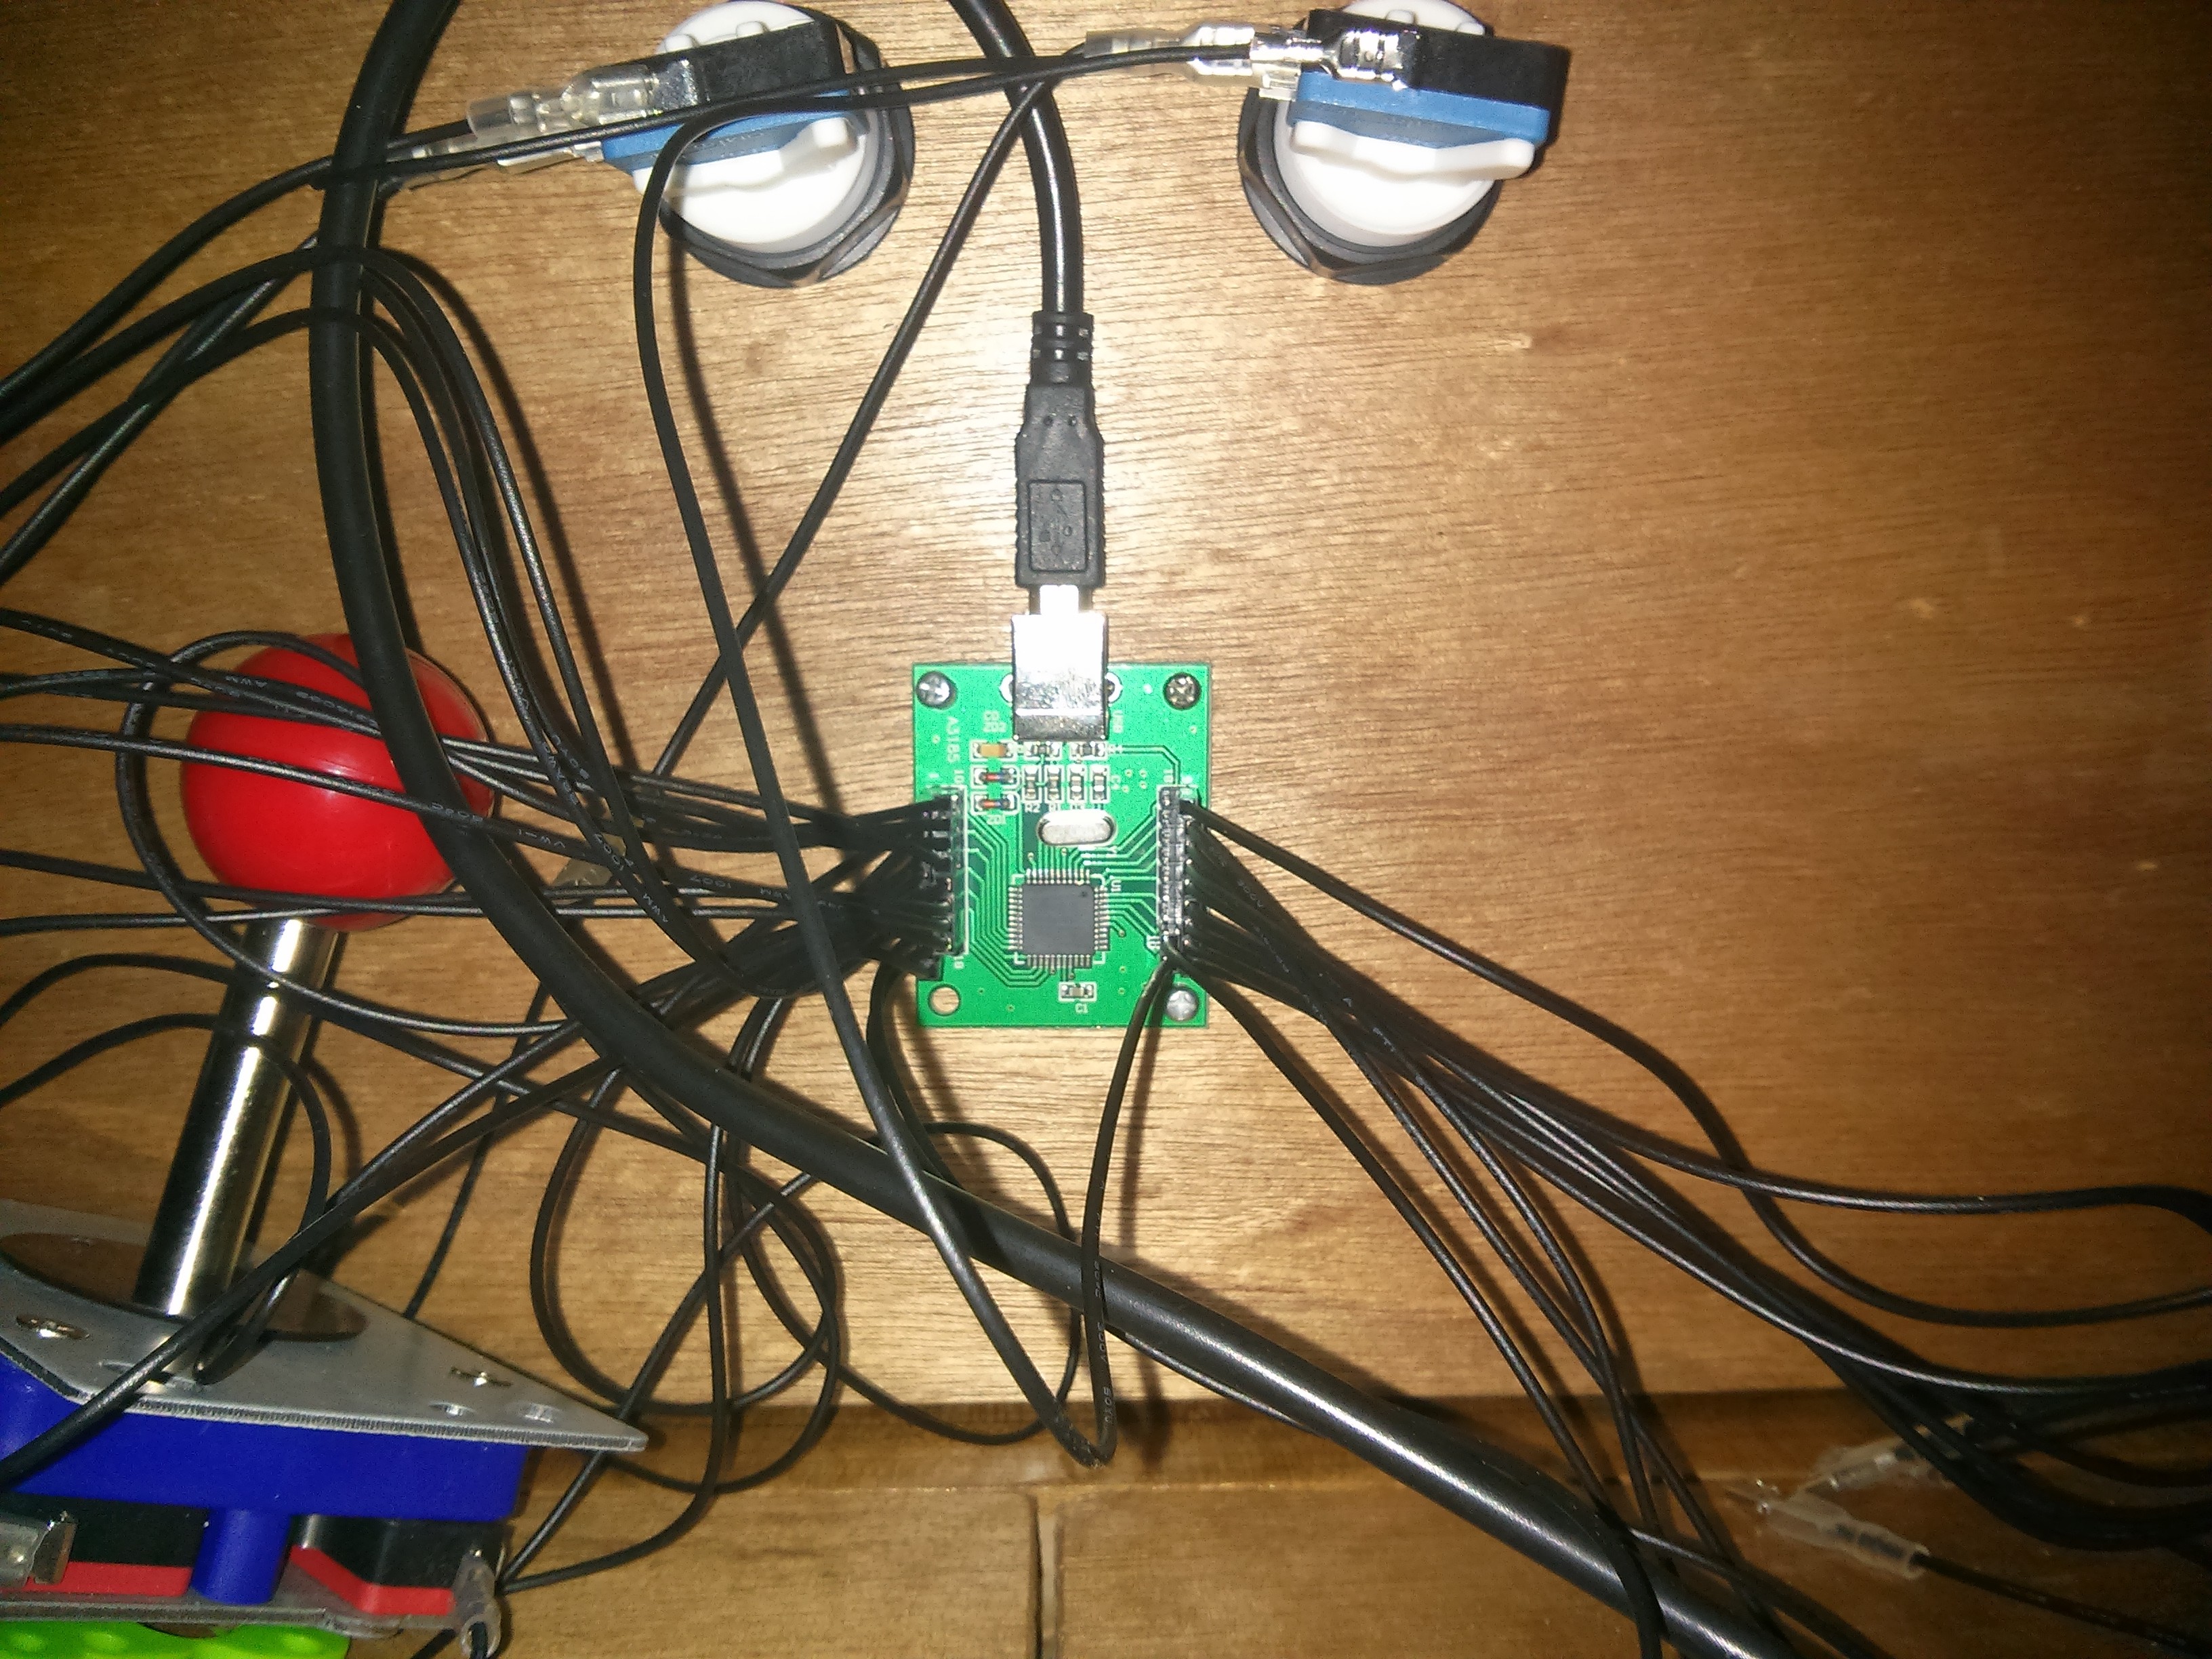
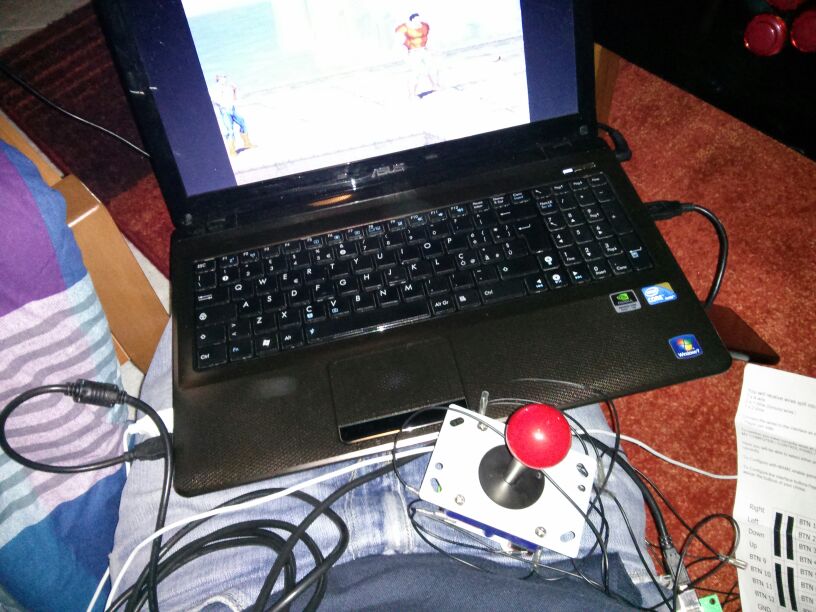
Finally, We arrive at the electronics part (That’s where it gets interesting) after bought on Ebay a raspberry pi and a joypad arcade kit I started to work to the electronic. The assembly of all the parts didn’t require much time:
For the configuration of the arcade raspberry, I opted for the installation of this http://piplay.org/ distribution.
Often as a developer is difficult to share with other people the pleasure of a finished project and It’s for this reason that I often like to do analogic things. What add.. if you have any doubt or you need help, do not hesitate to contact me, I will be happy to help you in your self-build arcade cocktail table!

